Death Inc. Mad Max Resin Figure
Here is the 'Warrior of the Wasteland' resin kit by Death Inc. There is a copyright date on the instructions of 1992, but I don't know if Death Inc is still in business. Also on the instructions is the following address: Death Inc., 656 10th St., Lynd, NJ, 07071. I think this is the earliest Mad Max resin figure to be made. Neither this kit or any other resin kit has ever been 'offically' licensed, at least to my knowledge.
The kit comes with Max's body, right arm, left arm, cresent wrench, binoculars, Dog's body, head, four legs, and tail. The binoculars are very poorly made. The kit is about the same scale as 12' action figures, and some decent looking binoculars shouldn't be hard to find in a toy store. The kit also includes a base with some accessories; a valve cover, a distributor cap, and a Coca-Cola bottle. The base itself has a skull, a tire, and tire tracks molded into it. For my kit I wanted to recreate the sceen in the movie of Max walking back to the Interceptor after scaring off Wez. My kit's base is made from a deep wooden picture frame with corkboard painted to resemble a road.
The kit has some minor imperfections; typical for resin. There are many holes and depressions that have to be filled and sanded down. Max's knee brace is poorly made, and you may be better off cutting it out and making a new one out of scrap metal. The seams in the arms are located in good places and they fit together well. Dog, however, will need some work getting his legs to all be the right height. But overall its a decent kit, as least as far as cast resin kits go.
These kits are very hard to come by. I've only seen three on Ebay over the course of eight years. The ones I did see were going for $100+ dollars. I actually paid $130.00 for my unpainted kit.

Box front

Out of the box front
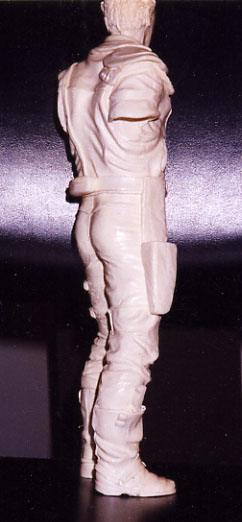
Out of the box rear
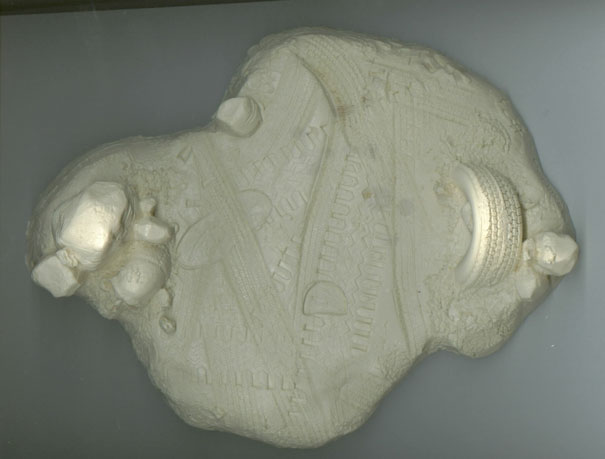
Kit base

Filling holes
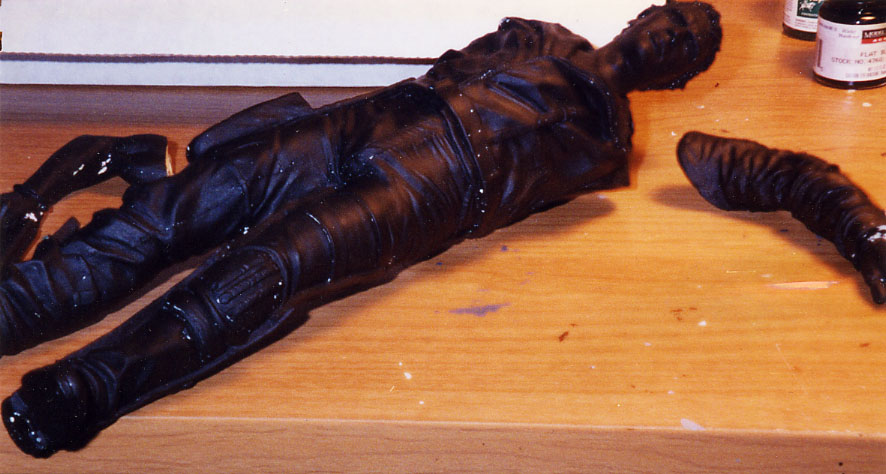
Black primer
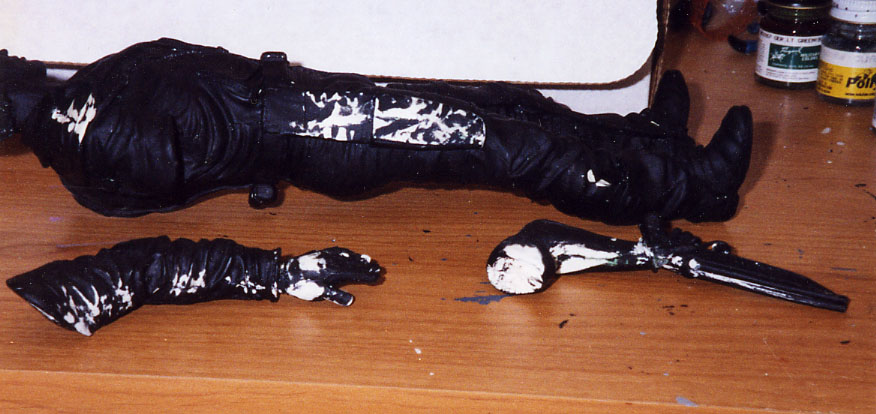
Sanding rough spots
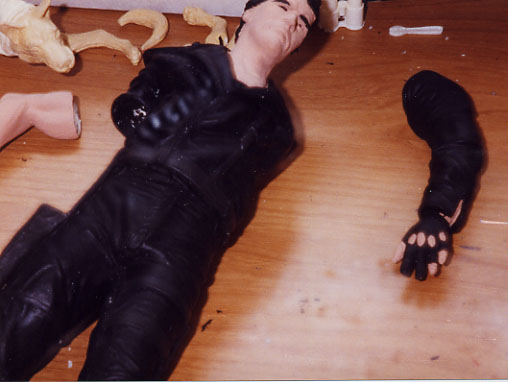
Base flesh coat
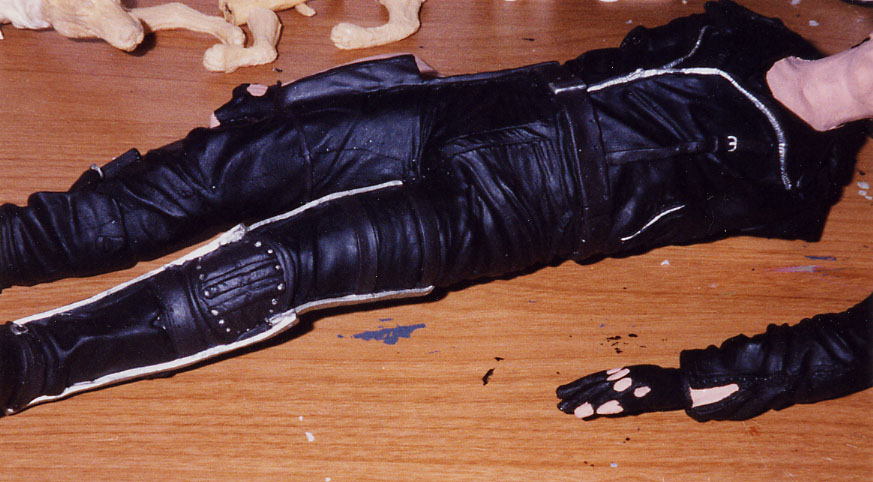
Painting the steel parts
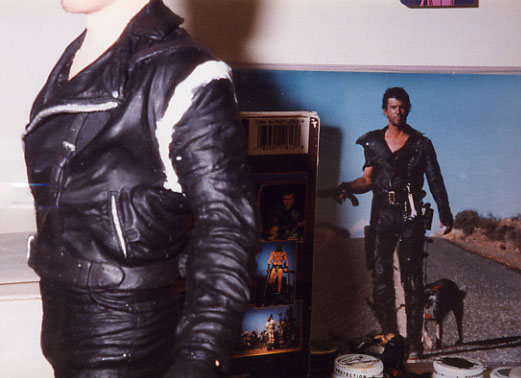
Fitting the left arm on

Initial face detail

Putting Dog together

Ready for weathering

Finished kit front
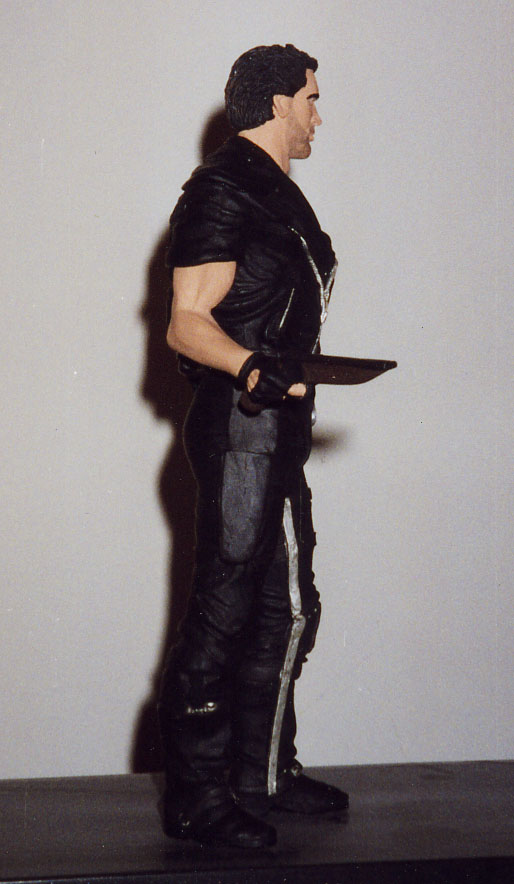
Finished kit right side

Finished kit left side
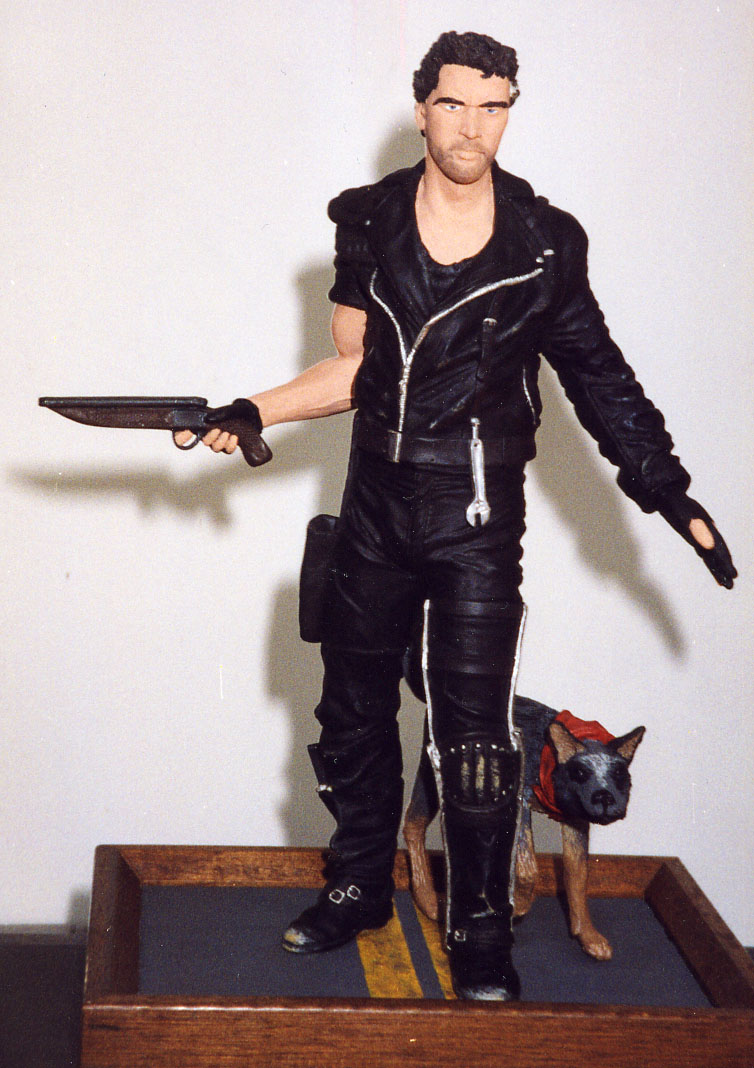
Finished kit on custom base
Here is John Grimm's a work-up of this kit:


