Chuck Homolka's Yellow Interceptor
Chuck Homolka made up an excellent 7 page set of instructions of how he made his custom Interceptor.
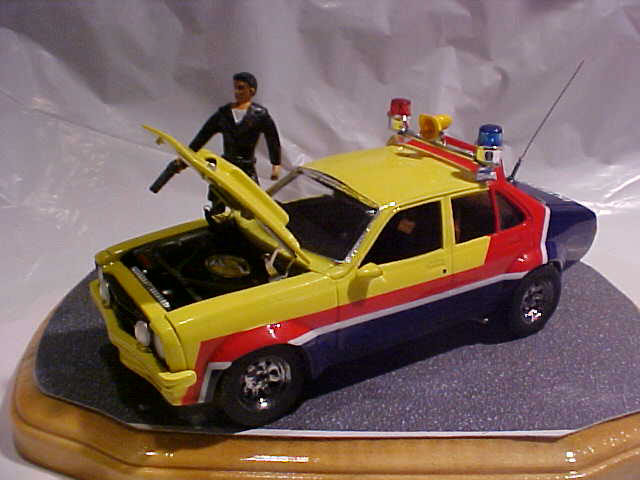
MFP Interceptor
By: Chuck Homolka
For those of you who are not familiar with the title of this article, it stands for Main Force Patrol Interceptor. This is the car that Max from the movie Road Warrior drives in the opening scene. I am a fan of this movie trilogy and have already built the black interceptor which Max gets later in this film. How does one get started on a unique car project like this? Well for me it was a fax being sent to Australia. The company that casts this car is Cavalier models and the name of their kit is 1974 Torana SL/R 5000 L34. The resin used by them has a slight blue color and is very soft. Being said it is wise to remember while working on the cars body it is not safe to hold it too tight cause the body will warp. (Luckily a hair dryer will allow you to reform the warped area) Cavalier’s kit is made to be a curbside with all the panels being molded in place. This was not exactly what I wanted. What can a modeler do? Well for me it was getting out the old cutting saw and going to town on removing the hood. This really did two things for me. First it allowed me to start building up the car as a full detail model and secondly with the resin hood removed it allowed me to find a replacement one that was much more like the car hood in the movie. I swiped a good hood from the Revell/Monogram ’69 Shelby Mustang kit. With some cutting and the addition of an evergreen hood bulge the finished piece fit right on.
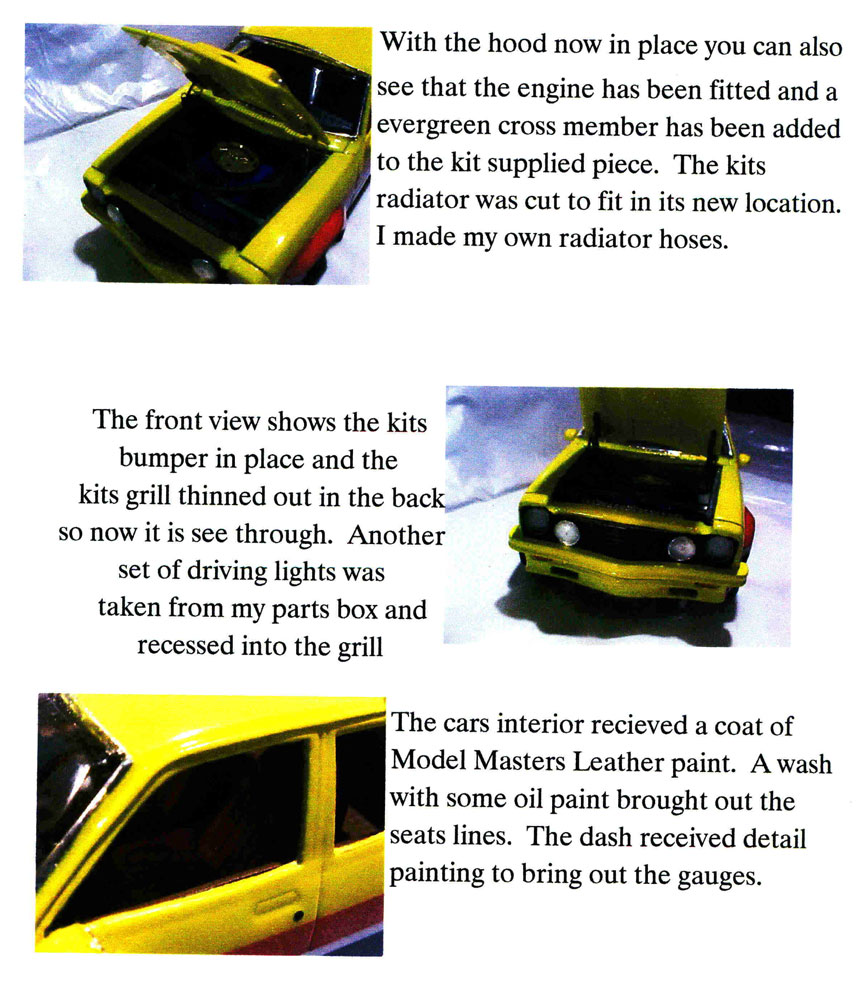
With the hood done I went on to modify a frame, suspension and inner engine compartment panels from a Monogram Shelby GT 350R kit so that my Interceptor would be fully detailed.
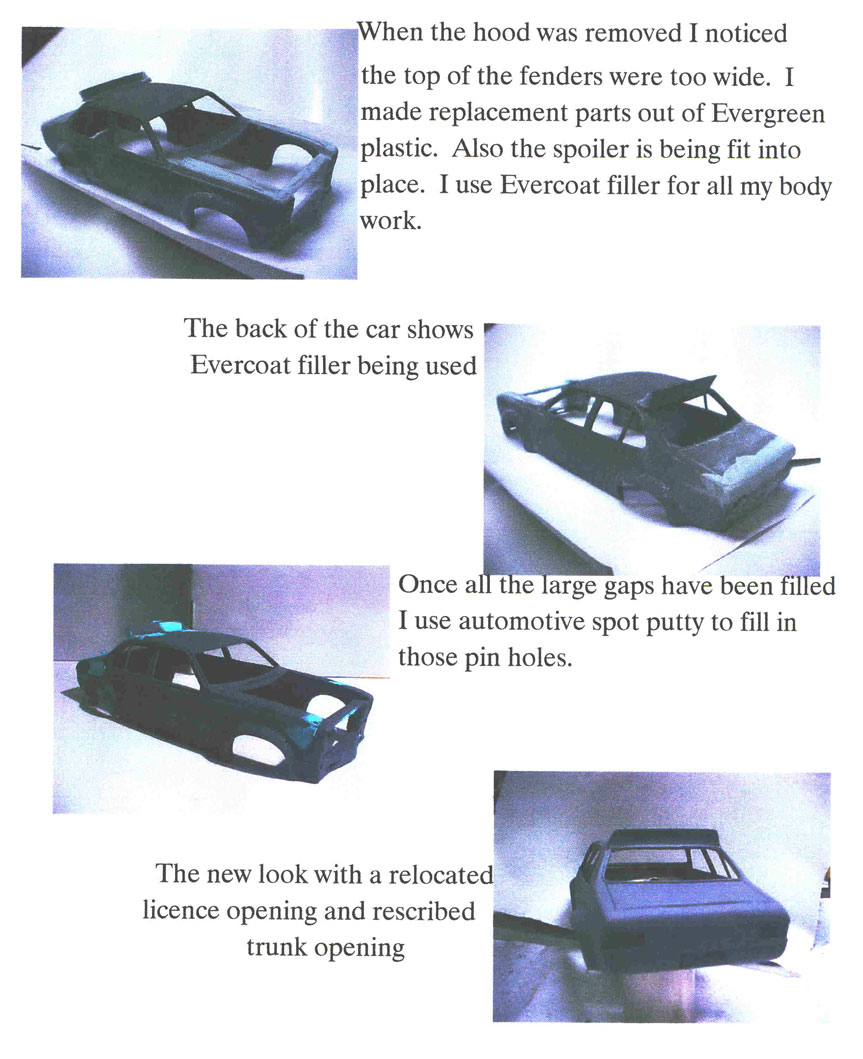
It must be remembered that the base car that you get in this kit is the way that it was sold to the public and not really like how the movie makers built it for The Road Warrior. A major point that needs to be changed is the removal of the rear spoiler on the trunk lid. This has to be relocated to the roof for our Interceptor. Trying to do this on a scale model does take a bit of finesse. I was able to cut it away without taking out too much of the surrounding area and I was able to sand the spoiler base so that it would work in with the roof's contours. Putty was used to blend it in. While I was working on the rear of the car I noticed that the movie car had a lower license plate opening then the kit. I used my bondo to fill the back area of the kit and recut a new opening in the proper position. Of course the kit does not have the correct tires and wheels. But, due to me building the later Interceptor first, I was able to take one of the tires off that car and make a mold of it so that four new tires could be cast.
I took pictures while this Interceptor was being built so that one can get the idea of what is involved with a project like this.